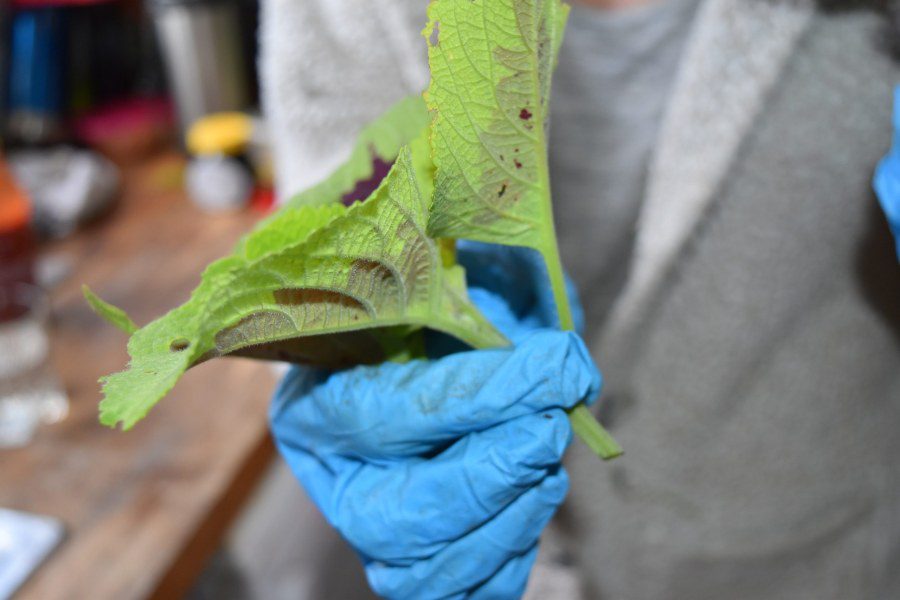
Taking coleus cuttings is a popular method for propagating these colorful and attractive plants. Here’s a step-by-step guide on how to take coleus cuttings:
Materials You’ll Need:
- Healthy coleus plant
- Sharp, clean scissors or pruning shears
- Small pots or containers
- Potting soil or a rooting medium
- Rooting hormone (optional)
- Plastic bags or plastic wrap
- Rubber bands or plant ties
- Watering can or spray bottle
- Bright, indirect light
Steps:
- Select a Healthy Mother Plant:
Choose a healthy and well-established coleus plant from which you will take cuttings. Make sure it’s free from diseases and pests. - Prepare Your Cutting Tools:
Ensure that your scissors or pruning shears are clean and sharp. This helps make clean cuts, reducing the risk of injury to the plant. - Choose the Right Stems:
Look for stems on the coleus plant that are non-flowering and have several sets of leaves. These are the best candidates for cuttings. - Take the Cuttings:
Use your scissors or pruning shears to make a clean cut just below a node. A node is the point where leaves or branches meet the stem. Each cutting should be around 3-6 inches long and have at least two sets of leaves. Remove any leaves or flowers from the lower part of the cutting. - Optional: Apply Rooting Hormone:
If you have rooting hormone available, dip the cut end of each coleus cutting into the rooting hormone powder. This can help stimulate root development. - Prepare the Containers:
Fill small pots or containers with a well-draining potting mix or rooting medium. Water the medium lightly to moisten it. - Plant the Cuttings:
Insert the coleus cuttings into the prepared pots or containers. Make a hole in the medium with a pencil or your finger and insert the cutting, burying the node where you removed the leaves. Press the medium gently around the cutting to ensure good contact. - Cover with Plastic:
To create a mini greenhouse effect, cover the pots or containers with plastic bags or plastic wrap. Use rubber bands or plant ties to secure the plastic. This helps maintain high humidity around the cuttings, which is essential for root development. - Provide Indirect Light:
Place the covered containers in a location with bright, indirect light. Avoid direct sunlight, as it can overheat the cuttings. - Maintain Moisture:
Keep the potting medium consistently moist but not waterlogged. You can mist the cuttings with a spray bottle to maintain humidity inside the plastic cover. - Monitor and Transplant:
After a few weeks, you should start to see roots forming. Once the cuttings have developed a good root system (usually in 4-6 weeks), you can transplant them into larger pots or your garden. - Acclimate to Outdoor Conditions:
If you’re transplanting your coleus cuttings outdoors, be sure to acclimate them gradually to the outdoor conditions to avoid shock. Start by placing them in a sheltered, partially shaded spot and gradually expose them to more sunlight.


By following these steps, you can successfully propagate coleus from cuttings and enjoy new plants with the same vibrant foliage as the parent plant.
Coleus thrives in the UK’s temperate climate, particularly during the warmer months. It is best planted in well-drained soil, either in containers or garden beds, after the last frost has passed. Coleus prefers a partially shaded location, as direct sunlight can scorch its leaves, though some newer varieties are more sun-tolerant. Regular watering is essential, but the soil should not be waterlogged. Pinching back the growing tips encourages bushier growth, and removing flower spikes as they appear can prolong the plant’s colorful display. With proper care, coleus can add a striking burst of color to any UK garden from late spring through early autumn.


